Tuesday, July 21, 2020

Colorful Kid's room


We have been working on many house projects here lately. All of which I am excited to share with you. The first and most fun one that I would like to share is my son's room. I wanted something fun and colorful but I don't do fancy and complicated designs when painting so this was an easy way to add some color with a design simple enough for me to do!

For this project you will need:
pencil
ruler
paint
fine tip artist paint brush
foam or regular paint brush

The walls were just white in the room so first step was to paint the walls a different solid color the other bedrooms are a light gray so this is what color I had for this room too! It needed a fun splash of color though so next using some other paint colors I had made the design

I used a 16"x 20" canvas to mark my circle so using the long side (your ruler would work too :) ) I made a mark at 20" going down the wall in the corner and along the top next to ceiling.


After I marked the corners at the 20" down the side in corner and 20" from corner on top I made a curved line connecting the marks.

starting in the corner and working the ruler along the line I made marks with the pencil 4" from the curved line.

I then had little marks on the wall that I connected with a curved line. from that line I made the next the line 6" away making that part that gets painted slightly larger than the gap in between. the next line is 4" away again and the next one 6" again


The pencil marks are hard to see in the photos but the design is now drawn on and I am ready to paint first I used the fine tip brush to paint the first curved line then filled it in between the line and corners.


Once the first half circle was filled in I traced the next two lines with the next color and painted between those two lines.


Traced the next two lines with the third color and fill in between I let it dry then did a quick second coat. I love how this turned out and it was pretty simple to do If I can do this you can too!


Wednesday, May 27, 2020

Gift Cards


Digital Gift cards are now available in our store! Visit the store and click the gift card tab to create/send one! Give the gift of Comfort, relaxation, and pain relief.
Visit store: ShannaMade

Wednesday, May 13, 2020

New Store


We have update our Online store!

Visit our Shop

Our Products:

Comfort Wrap

The ShannaMade Comfort wrap can be used for hot or cold therapy. The U shape conforms to the neck, it is flat enough to lie on for back pain, and flexible enough to wrap around any other target area. The unique slotted design holds rice in place. Simply warm in microwave 1-2 minutes to use warm or place in freezer to use cold.


Headache/Eye Mask

The ShannaMade Headache/Eye Mask is weighted eye mask with the same unique slotted design to hold rice in place and provide hot or cold relief for headache or eye strain. Simply warm in microwave for 30 seconds- 1 minute to use hot or place in freezer to use cold.


Gift Sets

Gifts Sets include a Comfort Wrap and a Headache/Eye mask


Friday, May 1, 2020

Child Crate Desk


Since we have been doing been school at home my son has needed a desk for awhile he had just the crates put together without the bottom side being taken off!

Before it looked like this

But after cutting off one the sides to make that side shorter and some paint


So to make the desk:

You will put the crates together and on your inside cut you will cut off the thick triangle shaped pieces on the outside cuts cut the side piece only but leave the triangle piece. Make your cuts, nail or screw the crates together, and sand and paint. I happened to have a top piece that fit but if you don’t you a piece of plywood for the top. Mine hangs off each side a bit so the plywood is 29 7/8”


Monday, November 4, 2019

Coffee Bar


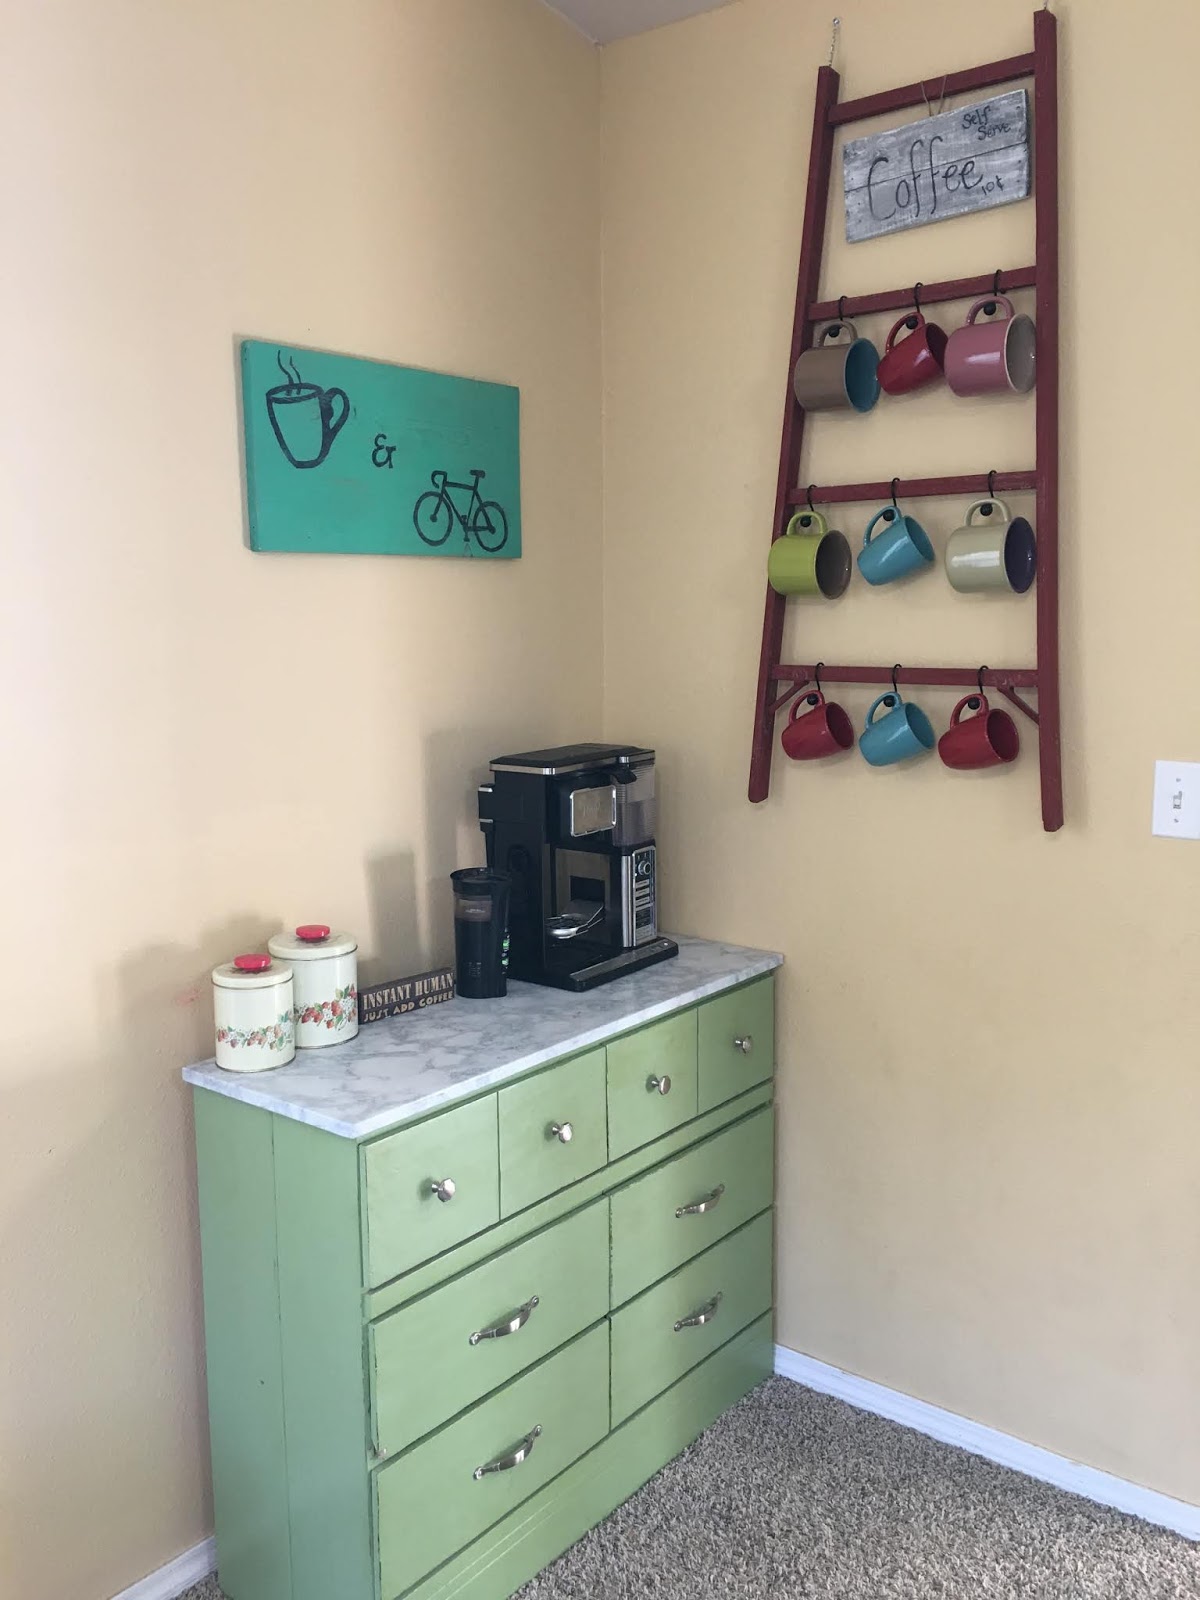
My husband works from home for two plus years he has been working at desk set up in our bedroom waking up and working in the same room spending most of the day in the same place. He was needing a change of scenery. We did some rearranging to make room for another desk in my craft room. To do this we had to take a dresser that was in there out. It looked a bit odd to have a dresser just hanging out in the living room. I decided then to make it a coffee bar this would free up counter space and I have been forever wanting a coffee bar but had no place for one. While it may be a bit odd to have the coffee bar in the living room I am hoping to someday open it up to the kitchen more and take out the carpet. I hope then it will look more like it belongs.


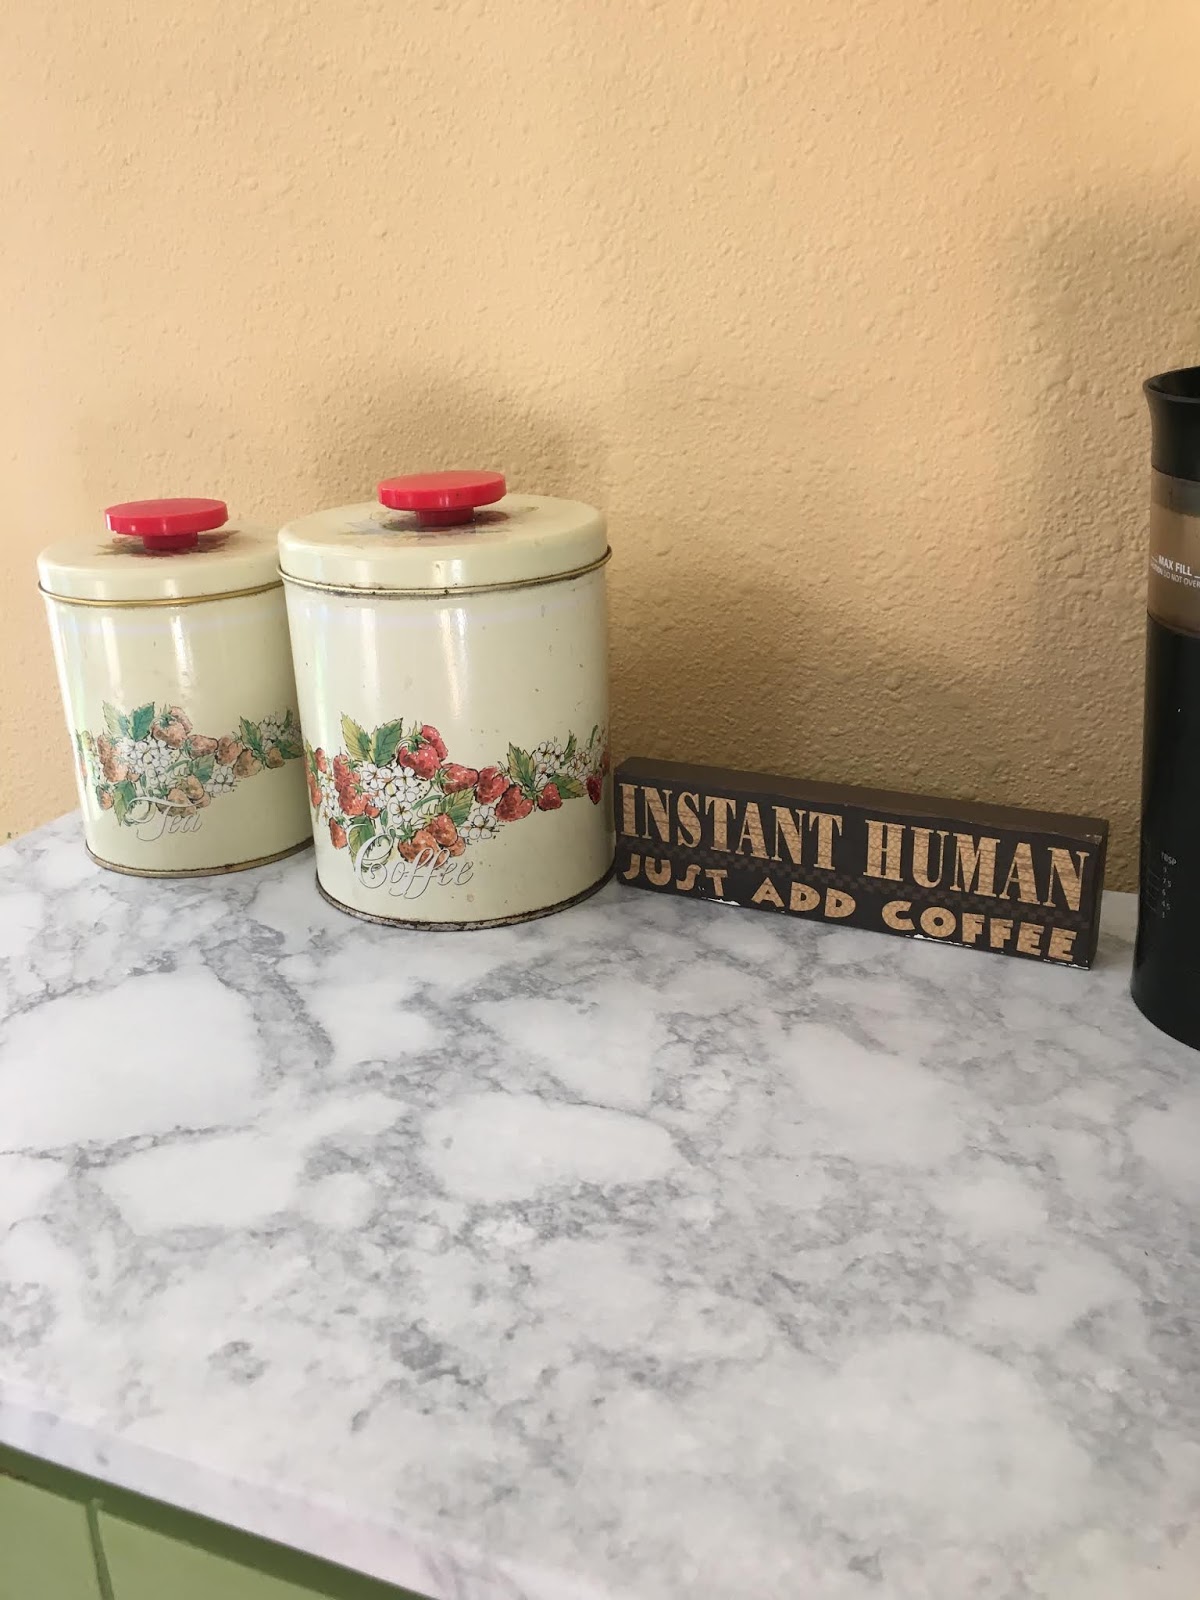
The dresser had a painted wood surface. I needed it to be a surface that could get wet and could be easily wiped off. I had some shelf contact paper with a marble print and it works perfectly.


Ladder cup rack updated with s style hooks instead of the shower hooks