Monday, April 22, 2019

The weekend Struggle


Seems Social Media is full of I love the weekend snuggles and time with my little ones it is so precious... Yes time with our little ones is precious and I enjoy spending time with mine, but lets be real here weekends aren't all snuggles and all sweet. Weekends are a struggle for us. when there isn't a plan and when we don't take a little time to spend together outside the tension rises. My kids would be completely content to spend all weekend sitting in front of the tv or a kindle but too much electronic time turns them into little demons! I will admit too it seems to have the same affect on me! Anyone else notice this? The struggle is finding something to do everyone can agree on,something everyone can agree on that is free and not too far of a drive makes that even more of a struggle. Usually what one kiddo wants to do the other doesn't.

Well this weekend we went to a place we have gone to many times this usually doesn't go over well as I hear "We have seen that it's boring." We went to a nature preserve that has trails to walk on, this time though we took along a little scavenger hunt. That helped to get them to be a bit more agreeable to go. While I wouldn't say it was a complete success and it ended up being a pretty quick little outing. It was cold and windy and the boys forgot their coats. It was enough fresh air to lighten everyone's' mood and get us to interact with each other instead of stare at screens and snap at each other.

My husband found and printed this nature scavenger hunt from chidhood101.com


I couldn't find a clipboard but found this clear cover folder I cut a piece of cardborad the size of the paper and double stick taped onto the paper this helped so we had a somewhat hard writing surface and works well to erase so we can use the scavenger hunt again!


Good thing there was blanket in the car for the kiddo in short sleeves that forgot his coat


We even managed even to get a cute selfie with everyone looking at the camera.


Oh and since the next day was earth day or rather that everyday is earth day we took along a bag to pick up trash luckily though there wasn't much to pick up!


Thursday, April 18, 2019

No Fold Laundry System


Today I am tackling that dreaded laundry pile of clean clothes that never put themselves away. I used to spend what seemed like hours folding and hanging my boys' clothes only a day later to have the dresser look like this:


I started this system of bins in their closets I don't worry about folding just sorting them into piles and then they get thrown into the correct bin. This system works well because it easy for them to help with the sorting and taking them to their room to put away.


They have a bin for pants/shorts, one for shirts, one for socks, and one for underwear. They just sort out what is theirs from the pile sorting them into these categories then throw them into the bin in their closet.


While I still dread that laundry mountain and there is still some things I fold this does make it a lot easier and more manageable!

Monday, April 15, 2019

Front Porch Decor


Saturday was the first nice weekend day of spring so we deiced to head into Home Depot to get a few things for the yard and things for projects around the house. Apparently this was everyone's idea of what to do on a sunny spring day, as the place was crowed and trying to keep the kids from bumping into people and displays was a bit stressful so it was a quick trip and I wasn't able to browse and get all the spring flowers I wanted. We of course got home and realized the many things we forgot to get.

I did get a few flowers for the front porch, the kids picked out the snap dragons and little clay pots they are the perfect addition to the little stool on the front porch along with a cheerful hello.


I love the cheerful feel this adds to the front porch, Next I need paint the front door. the tough part on this is deciding on a color!


Which one is your favorite?


Friday, March 1, 2019

Coffee and Bikes


Today since I wasn't able to paint still I made a sign using a board that was already painted. This board just needed sanded and the coffee cup and the bike was done with a paint pen. I was able to use the paint in the house so I could get that part of the painting project done.

To make this project you will need
*a piece of wood cut to the size you want to make your sign mine is Approximately 22.25” x 11.5”

*sand paper

*computer and printer to print your coffee cup and bike on paper

*carbon paper

*paint pen in color of choice


First thing you will need to is paint your board if it isn't already painted like mine was once that paint is dry sand it a bit to give a distressed look. You will then need to find clip art of coffee cup and bike and print them.

cut our around the shape and put it on your carbon paper and cut around it as well. I used this smudge resistant carbon paper.


decide where on your board you want image and trace


you will now need your paint pen you will need to pump/press it on a piece of paper to get the paint flowing once your paint is coming out you can paint on your image.


lightly sand your board again this will help smooth out your paint edges and give the image a distressed look. Last step is to attatch your how you will hang your sign I use these saw tooth hangers and put one on each end of the backside of the board.


I still don't where I am going to hang this or if I am going to put it in my shop the wall where I would put it where this coffee house sign is the same is painted the same color.


Tuesday, February 26, 2019

Home Tour


I like sewing a little bit and making neck wraps to help others with their pain but y'all what I really enjoy creating is home decor I like to see what I can come up with on a budget creating out of what I have around the house and paint old things to give them a new look.

Today I really just want to paint. I have a chair I need to paint I have a bunch of wooden crates just sitting in the garage waiting for something to be done with them. It is just too cold though I tried to to paint an expansion to my desk not too long ago when we had some somewhat warm weather but the paint just didn't stick and dry well so I will probably have to repaint it once it warms up. Oh and some black picture frames that need color! hmm well anyways since I can't paint yet today I will share some pictures of some projects done around my home sort of like a little home tour of my home. I will post links for the projects that I have written a post about.

Upon Walking into my front door you will find this Ladder Coat Rack: Ladder Coat Rack


Go on into the living room you will find what truly is a living space it is a fairly large room and every corner has been used to try to make it cute and functional as well as make up for the lack of space in the rest of the house.

When we cleaned out our garage this vintage bike found a new home as decor in the living room and the basket serves as a place to store a couple of blankets.


This frame started out just plain wood colored the inside with the burlap was taped off then spray painted the Letter S fit perfectly inside:


We have a little music fan at our houses so we have the music wall with his instruments. The keyboard was on a stand that came with it the drums just sitting on some crates. With this arrangement though you could see all the wires going everywhere and it is just didn't look great so I came up with this rearranging the creates and putting this board I had across it. The board could be a little longer to but it is what I had to work with for now and it does look better than the unsightly mess it was before.


Behind the couch is a couch table re purposed from an old Ironing board See Post: Ironing board re purpose


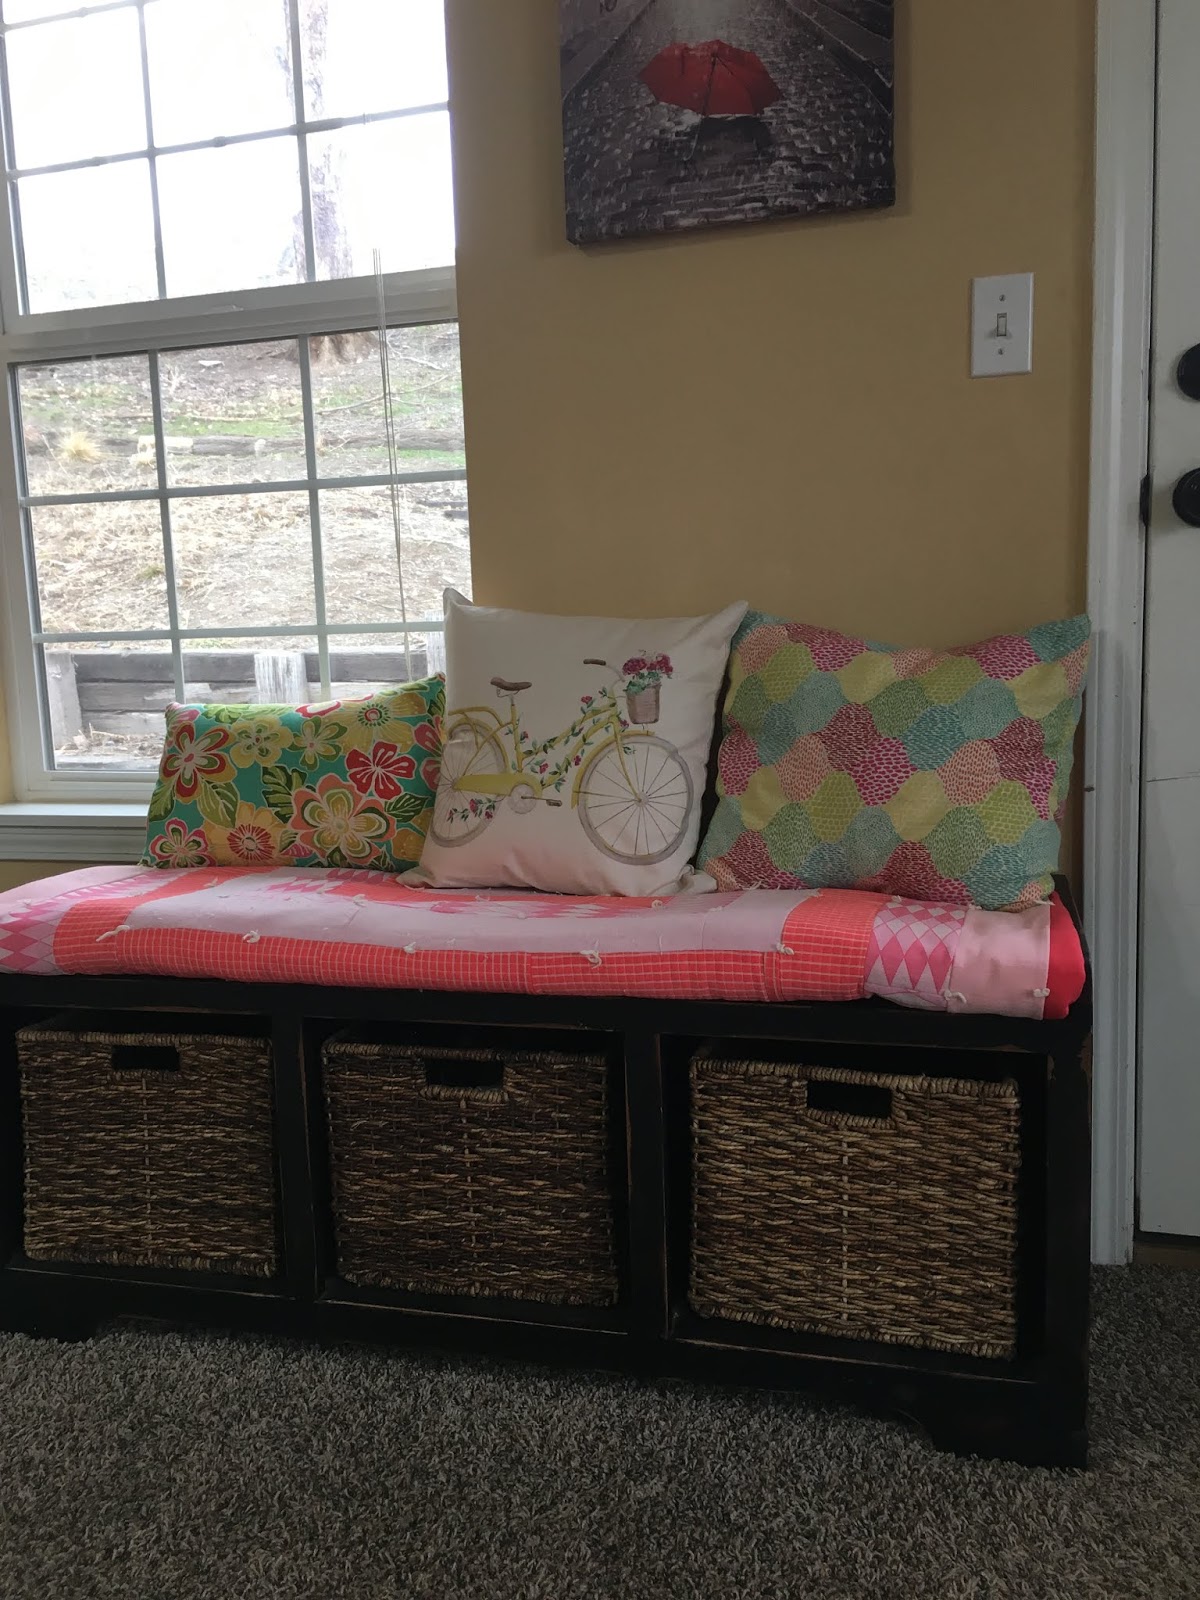
I had to find a home for this special bench since the front entry is too small it found it's home by in the living by the back door. My dad made this bench for our front porch in the first house we bought and it has moved with us to each house since. The quilt being used as the padding my grandmother made for me when I was a little girl. The bike pillow was a gift from my husband and the other pillow I made the covers for. The removable washable pillow cover turtorial can be found here: How to make a trow pillow


The corner by the back door is the kid's book/ play corner


And Lastly in the living room is my desk/work area The original desk makeover post can be found here: Desk Makeover


We will move now into the dining room and kitchen

I just love my colorful dinning room In here I have the bike wheel light the colorful table and chairs, and a farmhouse style coffee sign.


The old window meal plan sign. I got this old window from my aunt and with some cleaning up and some spray paint it became the meal plan board:


The kitchen was a big job to update the old cabinets but with paint and new nobs they look much better
Kitchen

Before:


After:


Remember the ladder from the entryway? Well here is the other half of it being used as a picture frame shelf in the hallwall

The ladder shelf


I plan on painting the black frames bright colors. Should I paint the ladder too or leave it natural?

Then we have the kid's art boards they need to be cleaned off it is hard to get rid of all the cute stuff they have made but here is where I display some of it.


And in the master bedroom is the bedside shelves

I did not have a table to put here so using some wood that was from some old shelves left at the house I made these bedside table/shelves. I painted them using the same technique as the desk makeover but I painted the blue base color before applying the vasoline


That is all the projects completed for now other than simply painting some of the walls that were once just white. Hope you enjoyed the little home tour watch for more projects when it is warm enough to paint again.

*** Update 4/23/2019 I found some wood someone was giving away and one was long enough for my piano stand so I have updated it so it has a top that is long enough! The board was just a little too long so I had to have the hubby cut it to the size and I painted it and now am excited to have a top that is actually the right size. Still debating if I should keep the crates natural or paint them bright fun colors what do you think?