Monday, June 16, 2014

Happy Birthday Winston

Today my sweet baby turned 3 he made it very clear that he wanted an Elmo birthday cake so I had to get creative and try to figure out how to make an Elmo cake. We had a simple little party for him with a few friends and ate his favorite meal of Spaghetti and Elmo cake and ice cream!
The cake was really quite simple the hardest part getting the frosting red! 2 1/2 tubes of food coloring later and a little brown mixed in we got something close to red! I used two jumbo marshmallows for the eyes and nose. I cut them in half and used a half of a marshmallow for each eye and the nose. I dyed the nose with orange cool aide. A litle bit of pre mixed black frosting for the center of they eyes and mouth. There is a thick layer of frosting then touched with my fingertip to make it peak to give the frosting some texture really pretty simple! I have another cake to make in ten days as my other boy will be turning five!


Wednesday, April 9, 2014

Sugar cookies

Remember this project?


The sugar cookies! My sister in law said she did not mind if I share the recipe so here I am finally getting around to sharing it! The best sugar cookies! These sugar cookies are so good and stay soft like those ones you get at the store bakery only better!

Sugar cookies
1 ½ C Butter (softened)
2 C Sugar
4 Eggs (beaten)
6 C Flour
1 tsp Baking soda
1 tsp Salt
2 tsp Baking powder
1 C sour cream

Cream butter and sugar, add eggs and vanilla. Combine dry ingredients and add to wet. Add sour cream. Refrigerate several hours or overnight. Roll out ¼ inch thick, cut into shapes, Bake at 375 for 8 minutes.

Let cool decorate and enjoy! I like them with a butter cream frosting. I found one on google not sure what it was now there is many good ones to be found!

Tuesday, March 18, 2014

A Vent and a Tip

I am unfit to be a mother is how I am feeling today. My back is giving fits so I am feeling so much pain that I can hardly stand it and can barely walk. Do they care though? Not in the least bit. I know though this is because they do not understand and are used to mommy being able to lift them up, get them their drinks, food, etc, and all the things they need to care for them, but still I take the pain out on them so unfair. I find myself yelling at them when they are just wanting the normal demands that a child needs. My oldest is very sweet and will pat me or give me a little kiss or say “sorry Mama”, but as soon as he wants something seems to forget. At the moment though I am trying to get them to sleep. I thought I would try to be kind and motherly and lie down by them for a bit but I found that each movement just irritated me more as it jarred my back and each word spoken just made me want to snap be quiet threw gritted teeth as they were refusing to go to sleep so thought it best to just leave it be and try to ignore the noise while I just sit out here and try to let out some frustrations and try to get some relief by putting ice on my back again with a handy comfort Pad . Hope this feels better soon and we can all get some much needed rest and feel better.


On a lighter note it may be a good time to share this little cleaning tip with you. I have been using vinegar to clean with for a long time. I like to use for everyday cleaning such as wiping down counters and the table as I don’t like the thought of all the chemicals being used every day on them or the little ones spraying it since they like to help with the chore of cleaning the table. We all know that vinegar is not really the best smell though well, I saw this on Pinterest and just modified it a bit by using full strength vinegar and not diluting it with water. So you put some orange peels or lemons, Peels of whatever citrus fruits you may like in a quart jar then fill with vinegar and let it sit for two weeks it is then ready to use. I put it in spray bottle and use as I would any cleaner. I have so far only done this with orange would like to try adding in some lemon. This smells much better than vinegar plain and is safe for the kids to use to help with cleaning!


I suppose soon it will be time to let get up again they have been lying down for a couple of hours now refusing to sleep. I guess it will be early to bed tonight!

Monday, March 10, 2014

Another Painted Countertop and other Projects


I have had a bit of a delay in posts here, it has been a busy past month and writing posts every day for a while I did get a bit burned out with blogging! It has been a good busy though as a lot has gotten accomplished around here! We enjoyed having my parents visit! I always feel bad that it seems my dad always has some work to do whenever they come! He did get a lot done thought while he was here. One of the things he did was put in a dishwasher for me! I am so excited to have one again! Dad built a shed, mom and I painted the kitchen cabinets. The cabinets with their fresh coat of paint inspired me to do more painting in the kitchen so I painted the walls and yes painted a countertop here is the story on that…

Down in our basement laundry room was this old cabinet that was in very rough shape. I wish I had a before picture to show you of it but the sides were falling off and it was well just real ugly! My dad though while he was here fixed it up put new sides added some drawers etc... He bought some old wood to use to make a wooden top for it but did not get to that while he was here so he took them home with him to work on them there and will bring them along next trip out here! In the meantime though the top of the counter top as it was I could not live with it was stained really horrible looking!


the only before photo of course by this time cabinet part has been painted!

Tutorial...

Here is a close up of the counter top before

Stained with paint and who knows what else, also places where the laminet top is craked and bulging!


First thing I did was take off the top and flip it over to start over with the wood side...there is some holes!


I did some sanding


Filled in the holes and crakes let it dry then sanded again


Rolled on a coat of primer


Using a scrunched up paper towel I dabbed on my first color of paint I used three colors a light tan and a little darker tan and the black. I also tried the experiment of sprinkling in some glitter. (It didn't really stick real well)Then dab on the next color and just and dab on black in small fewer places just keep repeating the layers until you get the look you want.


Once dry very lightly sand

Add several coats of polycrylic. I did seven coats gave it a two hour dry time between each coat and lighted sanded between each. I let it cure 24 hours before I put anything back on the counter If you can wait longer is better.


While it does not look perfect it looks much better!


Monday, February 17, 2014

Catch up/Project 14

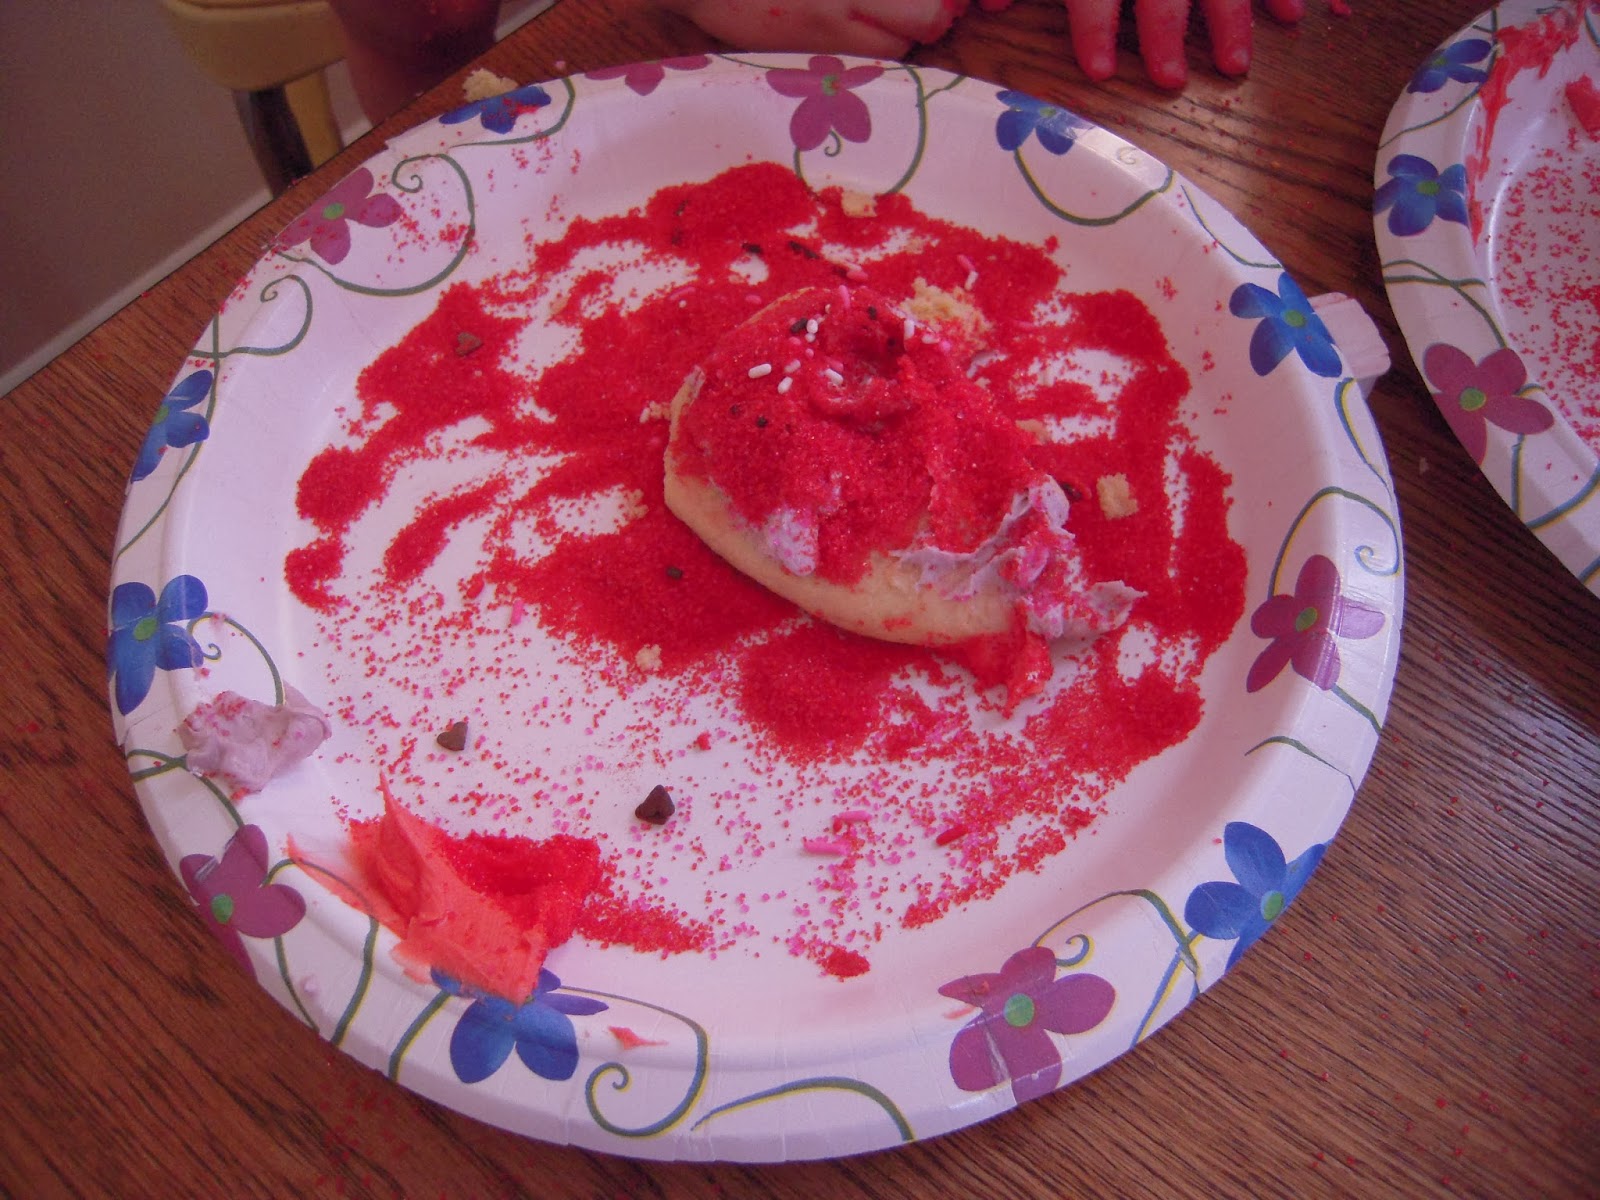
We need to do a little catch up here we have had a busy last few days. Project 14 was sugar cookies! We had so much fun making them and decorating them with good friends. The kids actually only did one cookie each then were ready to get back to playing. Adult conversation while decorating what seemed like thousands of sugar cookies made for a good time by all. The sugar cookie recipe is one I got from my sister-in-law and they stay soft and fluffy, melt in your mouth and are amazing. I will have to ask her permission to share.


Cuting out


Decorate


Cookie anyone?


We had a fun time with Grandma and Grandpa and are looking forward to the other set coming tomorrow. My hubby and I will get to do a little Valentine/birthday getaway together while they are here!


We did an extra project today! I have been wanting to do this one since the beginning of the month but did not have the paint. Grandma brought us our paint. It was left at our house we moved from and I didn’t want to buy more when I had almost a full gallon on its way here. Good thing the boys’ foot prints are adorable and what makes the picture because I do not like my writing. This was done on an 8*10 canvas, I picked up a pack of two at WalMart for about 10 bucks!